 |
ROLEXROLEXROLEXROLEXROLEXROLEX
 ROLEXROLEXROLEXROLEXROLEXROLEX
|
|
#1 |
|
"TRF" Member
Join Date: Jan 2010
Location: NYC
Posts: 130
|
Getting The Endpieces of Your Rivet Band to Fit Better
We've all seen rivet bands where the endpieces fit loosely into the case between the lugs, giving it a sloppy look.
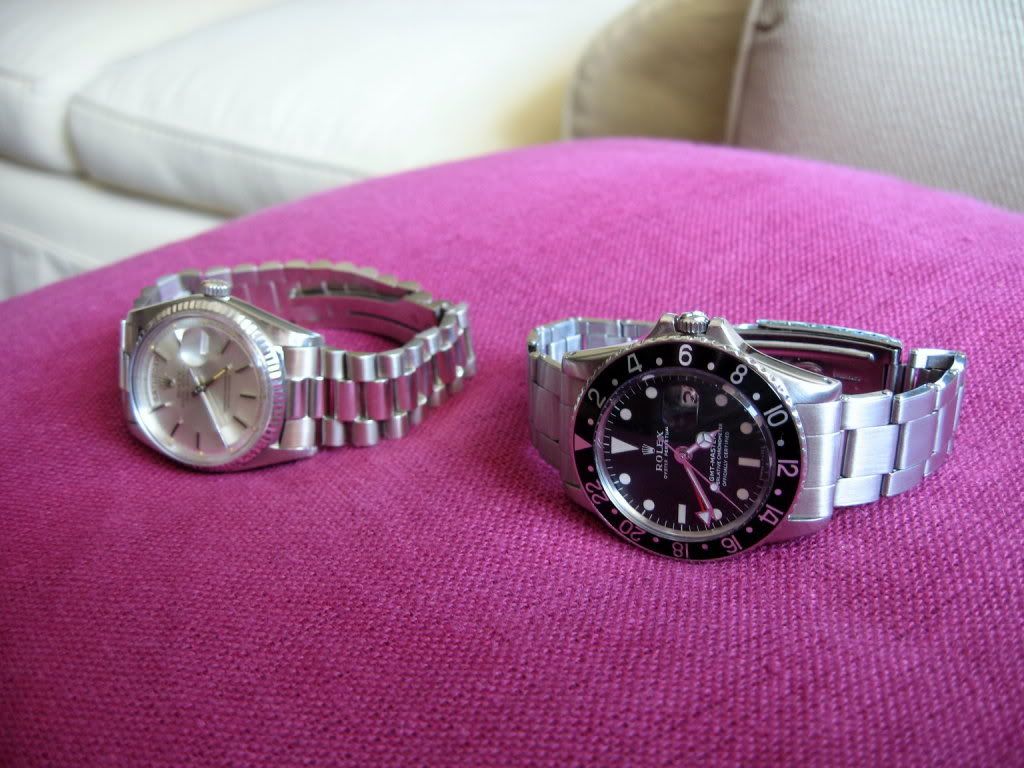
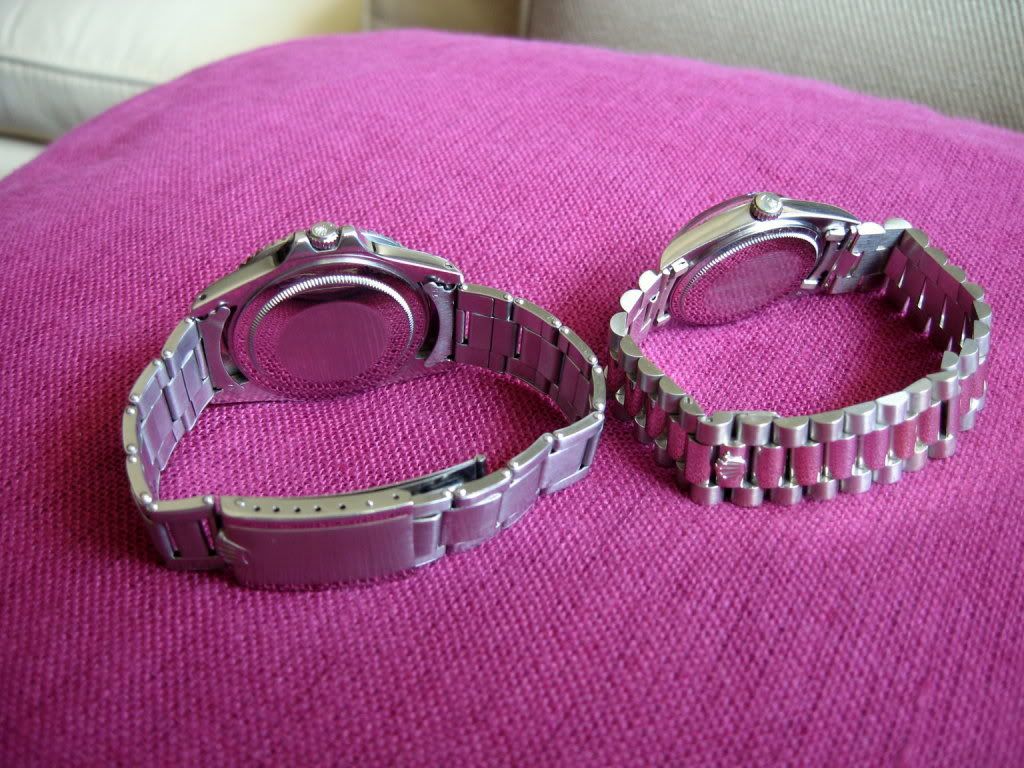
I tinkered a lot with the rivet band on my GMT Master and it now fits quite tightly. "Before" pictures are posted below - you can't really tell from the pictures, but the endpiece used to fit loosely enough that it would "rotate" in the case. In the picture of the back of the case, you can see the gap between the endpiece and the case - with the tweaks below, this gap is now gone. I posted a while back about getting the endpieces of a rivet band to fit better, see: https://www.rolexforums.com/showthre...ighlight=rivet A member read that post and inquired further. I thought my response might be useful for to the group, so here are my original posts and my response to the other member. ORIGINAL POSTS: As for fitment of the end pieces, it's never as good with rivet bands as with regular Oyster bands, but you can make it fit better than it is now with some work. As Jeff said, first you need to remove the band from the case and spread the end pieces (so the "U" shape is broader at the top of the U). You can also make sure that the tubes into which the springbars fit are round (rather than oval) and, if not, use a screwdriver to push on the exposed side to make them round again. You can bend the springbars so they're slightly curved and fit tightly into the end pieces (push them into the tubes with needlenose plyers), with the ends of the springbar pointed away from the end of the end piece (which will push the end piece into the area between the lugs of the case). Finally, you can apply a trimmed piece of electrical tape to the area between the lugs with the engraving, which will prevent the end piece from rotating downward. Looks good! The rivet band end-pieces were designed for a thinner case (like 1675 GMT Master), rather than the thicker Submariner case, so the contour match between the top of the end-piece and the top of the lugs isn't going to be perfect. Also, the contour match is affected by the rivet band end-pieces being more of a V-shape (flat from the apex) than a U-shape (convex from the apex) like the regular Oyster band end-pieces. This difference is more pronounced on the thicker Submariner case, as compared to the thinner 1675 GMT Master case. If you haven't done so already, try bending the springbars so they're curved away from the end of the end-piece, as per my earlier post, which will press the end-piece into the case. As for tools to spread the end-pieces, I used two flat-end screwdrivers with the tips covered in electrical tape, pushed into the "inside" of the U of the end-pieces. Using plyers for this purpose will likely mar the tops of the end-pieces, except maybe the type of needle-nose plyers with the rubber-coated tips. FOLLOW-UP RESPONSE: To change the shape of the end piece (so it's a "broader" U-shape), you can use two sets of small needlenose plyers, either the type with a rubberized coating on the tips or plyers without the rubberized coating but with electrical tape wrapped multiple times tightly around the tips, so that the plyers can be used to grasp the end piece without marring its surface. Although it helps to make the endpiece have a broader U-shape and to flatten the small semi-circular tabs on the bottom of the endpiece, I found that the the key to making the endpieces fit properly is to: (1) squeeze the tubes inside the endpieces into which the springbars fit so that they are round or a little "oval (so the tube is "taller") rather than oval (where the tube is "wider"), and (2) bend the springbars so that they're curved and then insert the curved springbars into the endpiece oriented so that the pins at the ends of the springbar are pointed away from the end of the band, when the band is laid flat on a table. Curving the springbars in this manner causes the endpiece to fit further into the area of the case between the lugs when installed. There is a limit to how much you can bend the springbars before they won't fit into the tubes in the endpiece and it took several tries for me to get it right. When the springbars are completely straight, they fit loosely into the tubes in the endpiece. When properly curved, I needed to use the needlenose plyers to push the springbar into the tube and it was tight enough that the springbar didn't move once inserted. That is helpful because, as noted above, you want to orient the springbar so that the pins at the end of the springbar are pointed away from the end of the band. Doing so causes the endpiece to fit probably 2-3mm deeper between the lugs, which is all you need for a proper, tight fit. Also be sure to fit some trimmed electrical tape to the case between the lugs, as that will take up a little of the space between the case and the end piece. Finally, with the curved springbars, since the pins are no longer at a 90 degree angle to the holes in the case into which they fit, you need to "jiggle" the endpiece a little until the pins "click" into the holes. I hope this helps.  
|
|
|

|
 |
| Currently Active Users Viewing This Thread: 1 (0 members and 1 guests) | |
|
|
*Banners
Of The Month*
This space is provided to horological resources.